
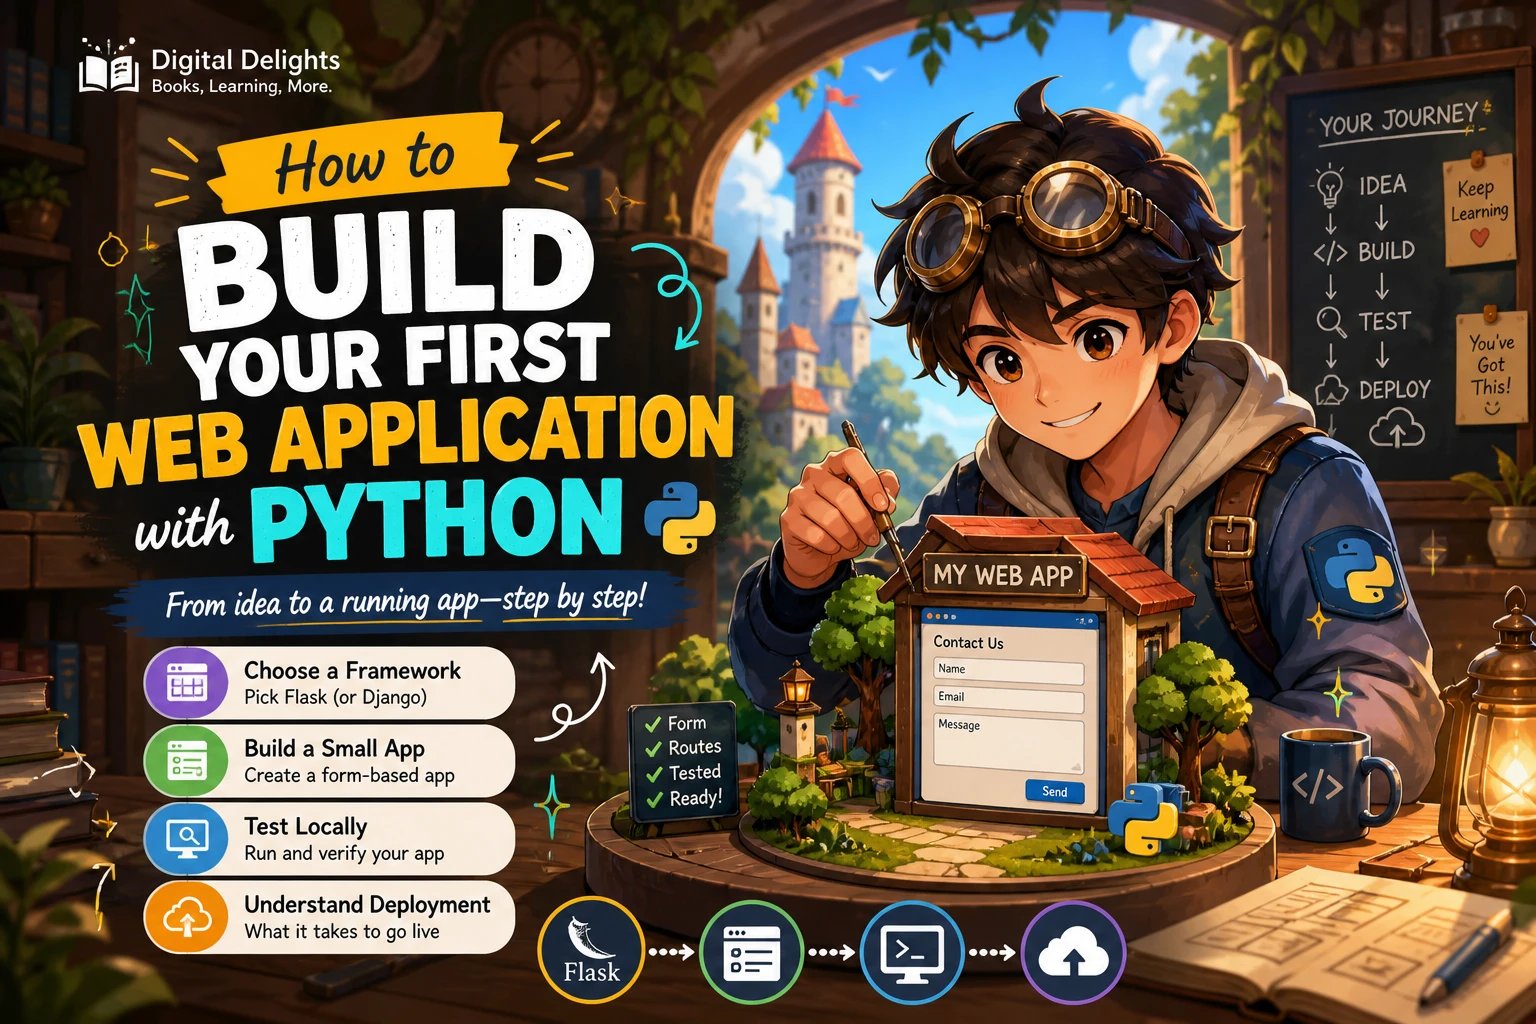
How to Build Your First Web Application with Python
Your first Python web application does not need user accounts, a database, or a polished product design. Start with one useful interaction: show a page, accept a short note, and return a response. Building that small loop teaches the essentials—how a browser request reaches Python code and how the application sends a page back.
This guide walks through that first version using Flask, a lightweight framework, while explaining when Django or Streamlit may be a better fit. You will set up an isolated project, create a page and form, run the app locally, and see why a local development server is not the same as a production deployment.
What makes a web application?
A web application is software people use through a web browser. The browser sends an HTTP request to your application, usually for a particular URL. Python code handles that request and returns a response—often an HTML page that the browser displays.
- Browser: A visitor opens a page or submits a form.
- Route: The framework matches the requested URL and method, such as
GET /orPOST /, to a Python function. - Application logic: The function decides what to show or do with submitted information.
- Response: The app returns a page or other response for the browser.
HTML describes the page, CSS controls its appearance, and Python handles server-side behavior. A simple first project can use all three without needing a database or a separate JavaScript framework.
Choose a framework for the project you want to build
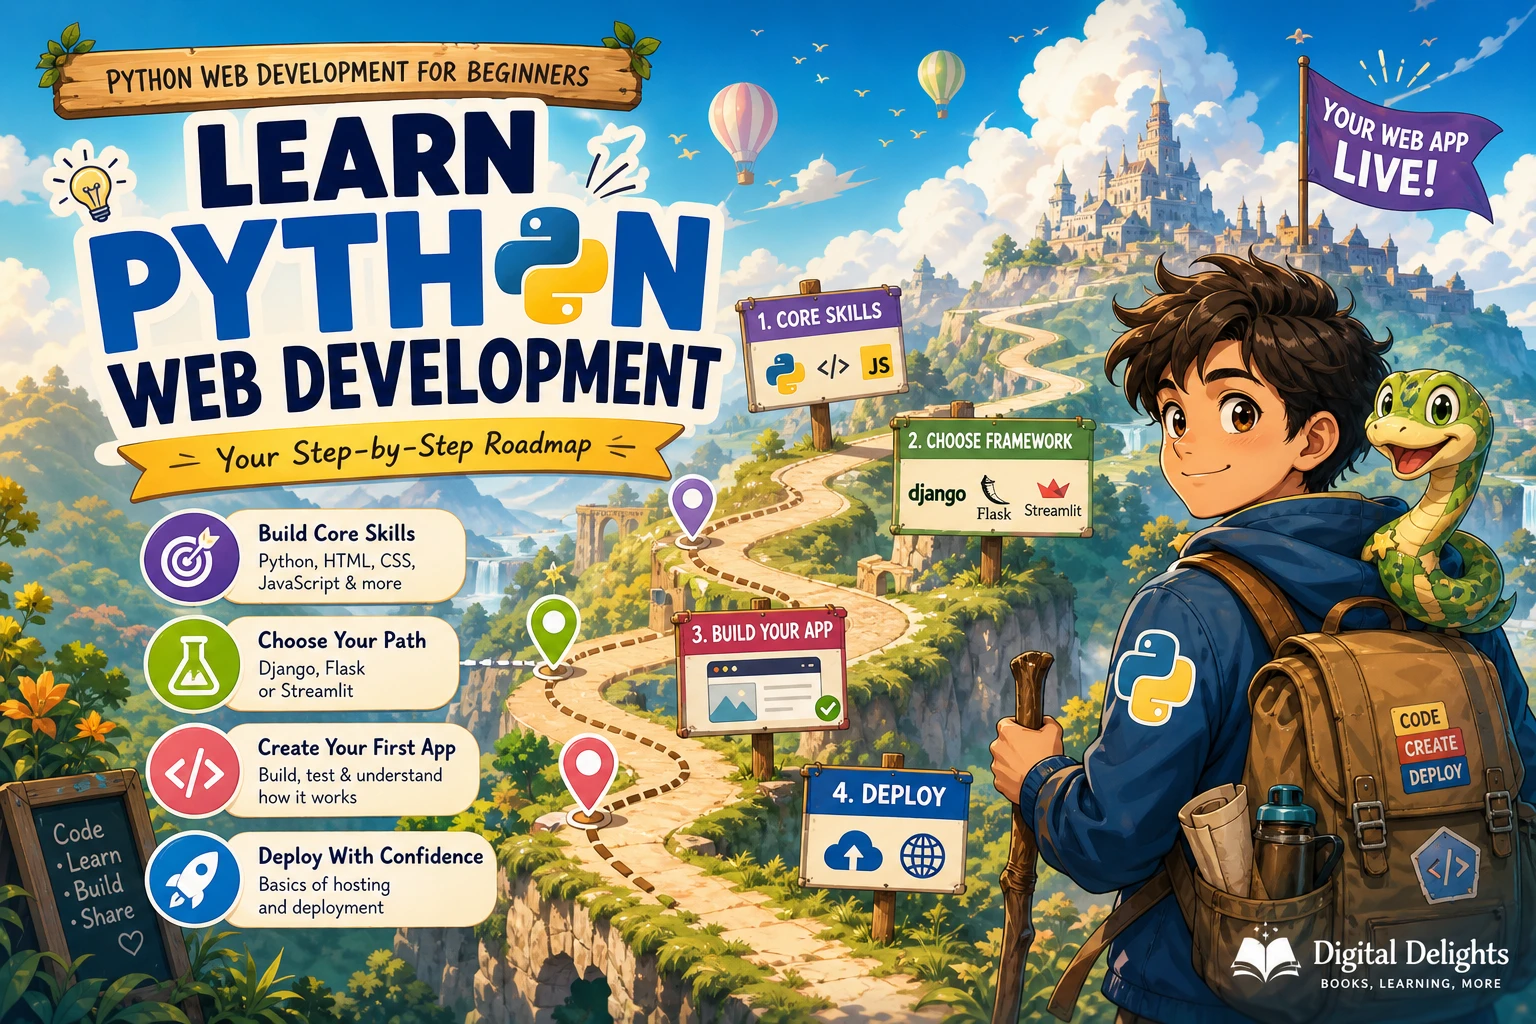
There is no framework that is best for every beginner or every project. Choose based on the kind of application you want to make and how much structure you want the framework to provide.
| Approach | Consider it when | Keep in mind |
|---|---|---|
| Flask | You want a small app and prefer to add pieces as you need them. | You will make more decisions about the structure and extra tools as the project grows. |
| Django | You want a more comprehensive framework and a guided path through a larger site. | There are more framework concepts to learn at the beginning. |
| Streamlit | You want an interactive data app, dashboard, or tool built around Python. | It is aimed at quickly making interactive apps, rather than being a like-for-like substitute for every general-purpose website. |
For the small form-based example below, Flask keeps the request-and-response flow visible. If you want to compare project-based learning options, Django 4 by Example follows a blog application through Django features. Its title identifies it as a Django 4 edition, so check the framework version and instructions before applying them to a different Django release. For a data-focused direction, Web App Development Made Simple with Streamlit covers interactive widgets, data displays, and sharing a Streamlit app.
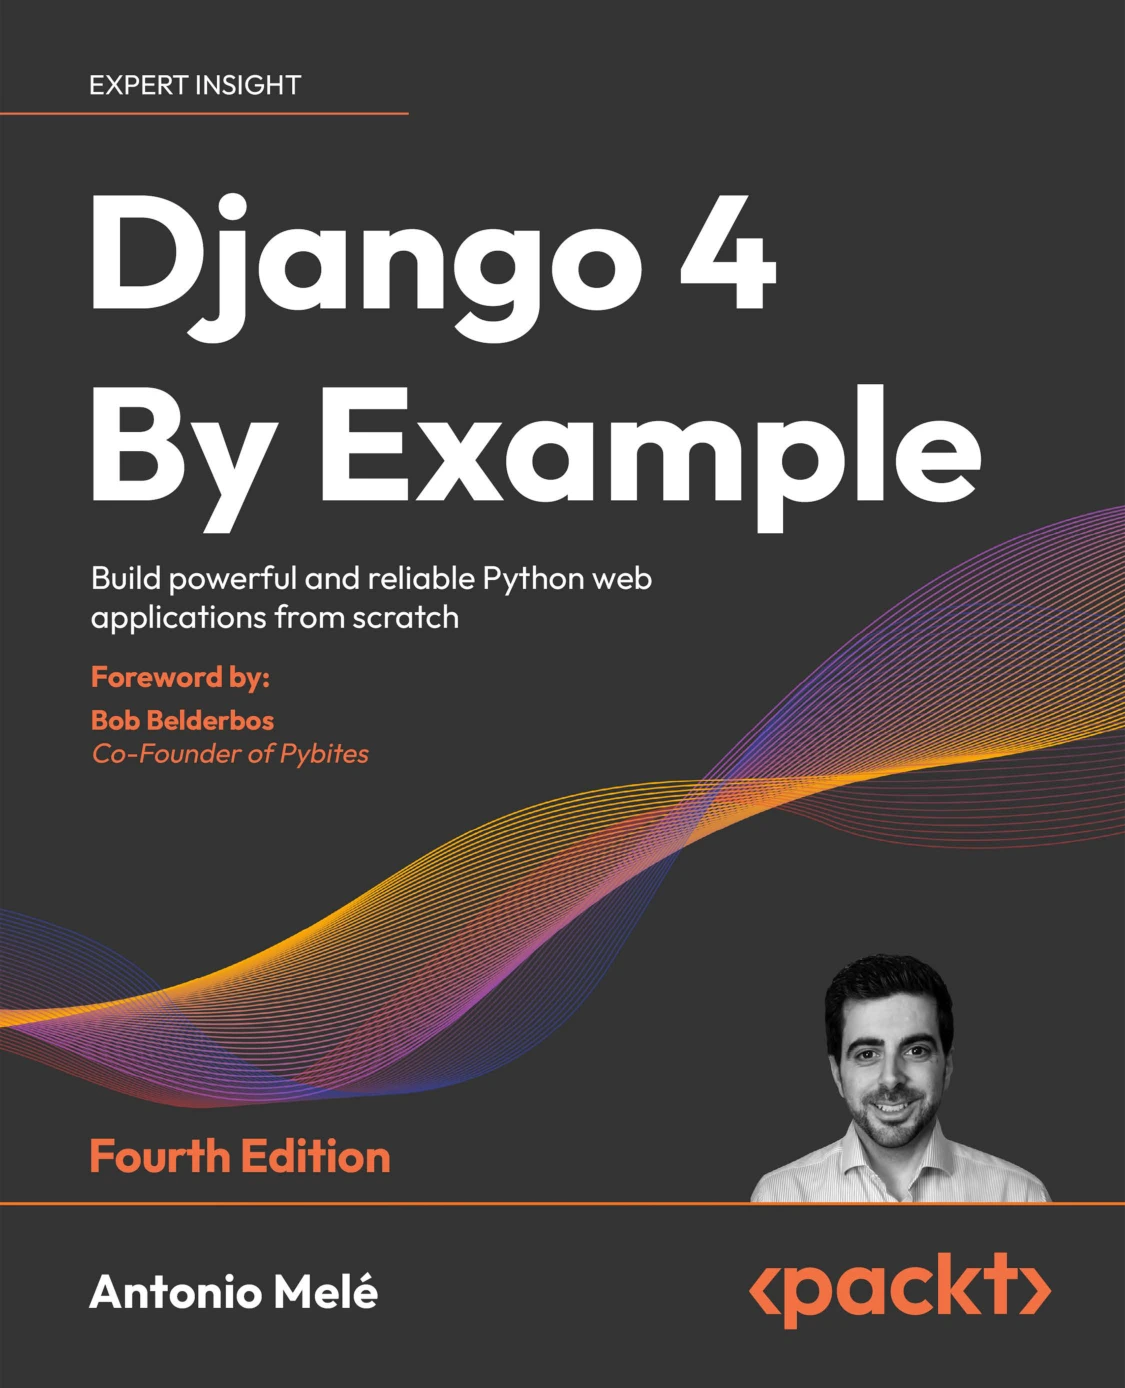
By Antonio Melé
Python learners interested in a guided Django project who will check its Django 4 material against the version they use.
Web App Development Made Simple with Streamlit
Python learners aiming to create data-focused apps with widgets, data displays, and sharing.
Plan a small first project
Pick a project whose main interaction you can describe in one sentence. A notes form is a good example: a visitor enters a note, submits it, and sees a confirmation. For this first pass, the note will not be saved after the response. That limitation is intentional: it lets you understand the web request before adding storage.
Set a short first-version checklist:
- The home page loads in a browser.
- A form accepts a note.
- An empty submission produces a helpful message.
- A non-empty submission produces a confirmation.
Leave accounts, database design, editing, and deployment for later. Add those once the basic interaction works.
Set up a Python project
Check your Python and framework versions
Before installing anything, check which Python version is available and confirm that the Flask release you plan to install supports it. Framework compatibility changes over time; do not assume that the newest Python release is automatically supported by every framework version. Python’s documentation explains how to create isolated environments with venv: Python venv documentation.
Create a folder and virtual environment
Open a terminal, create a folder for the project, and move into it. The following commands work in a typical macOS or Linux shell; on Windows, use py in place of python if that is how your installation is configured.
mkdir first-python-app
cd first-python-app
python -m venv .venv
Activate the environment before installing Flask. The activation command depends on your operating system and shell:
- macOS or Linux:
source .venv/bin/activate - Windows Command Prompt:
.venv\Scripts\activate.bat - Windows PowerShell:
.venv\Scripts\Activate.ps1
Then install Flask into the active environment:
python -m pip install FlaskA virtual environment keeps this project’s installed packages separate from other Python projects. Recreate it from your dependency information when setting up on another machine rather than copying the environment folder across systems.
Build a small form-based Flask app
Create the route and handle the form
In the project folder, create a file named app.py. This route displays a form when the browser requests the page and handles the submitted value when the form is sent. The example checks that the note is not blank, but it does not save it permanently.
from flask import Flask, render_template, request

app = Flask(__name__)

@app.route("/", methods=["GET", "POST"])
def home():
    message = ""
    error = ""

    if request.method == "POST":
        note = request.form.get("note", "").strip()
        if not note:
            error = "Please enter a note before submitting."
        else:
            message = f"Your note was received: {note}"

    return render_template("index.html", message=message, error=error)
The route responds to two HTTP methods. A GET request loads the page. A POST request carries the form data to the same route. The function trims surrounding whitespace and checks for an empty value before preparing a response.
Add an HTML template
Create a folder named templates beside app.py, then create index.html inside it. Flask uses this template to produce the HTML page returned to the browser.
<!doctype html>
<html lang="en">
<head>
  <meta charset="utf-8">
  <meta name="viewport" content="width=device-width, initial-scale=1">
  <title>My Notes</title>
</head>
<body>
  <main>
    <h1>My Notes</h1>
    <form method="post">
      <label for="note">Write a note</label>
      <input id="note" name="note" type="text">
      <button type="submit">Send note</button>
    </form>
    {% if error %}<p role="alert">{{ error }}</p>{% endif %}
    {% if message %}<p>{{ message }}</p>{% endif %}
  </main>
</body>
</html>
The input’s name attribute matters: it is the key Flask uses to retrieve the submitted value. The template conditionally displays either the validation message or confirmation passed from the Python function. You can add a separate CSS file later; first, verify the request and response work.
Run and check the app locally
With the virtual environment active and the files in place, start Flask’s development server from the project folder:
flask --app app run --debugOpen the local address printed in the terminal. Submit a note, then try submitting an empty value. Check that the first produces a confirmation and the second displays the error message. The debug option is for local development, not a setting to carry into a public production deployment.
Common setup problems
- The Flask command is not found: Check that the virtual environment is activated and Flask installed there. You can also try
python -m flask --app app run --debug. - The page reports a template error: Confirm that the folder is named
templatesand thatindex.htmlis inside it. - The submitted value is missing: Make sure the form uses
method="post"and the input hasname="note". - Your changes do not appear: Check the terminal for errors, confirm you edited the project files you are running, and refresh the browser.
Improve the project one layer at a time
Once the first interaction works, make one change at a time. This makes it easier to tell which change caused a problem and gives each new idea a clear purpose.
- Separate presentation from behavior. Move CSS into a stylesheet and keep page structure in the template.
- Improve validation. Decide what inputs are allowed and explain how a visitor can correct an invalid submission.
- Add persistence. Use a database only when the app needs information to remain available after a request or server restart.
- Organize as the app grows. Split routes, templates, and other responsibilities into clearer modules when a single file becomes difficult to follow.
- Test changes. Retest both valid and invalid input whenever you alter the form or its handling.
When you are ready to explore a fuller Flask API project, Python API Development Fundamentals covers a larger application using Flask and related tools. It is a follow-on resource for readers who want to move beyond this simple page, not a requirement for completing the first app.
Python API Development Fundamentals
By Jack Chan
Readers who understand the basic request-response flow and want to explore a larger Flask project.
Understand the difference between local and production
A page running on your own computer is a useful development milestone, but it does not mean the application is ready for public traffic. Deployment involves decisions beyond writing a route: where the app runs, how configuration and secrets are managed, how user input is handled, and how the production server is configured.
Do not expose Flask’s development server as your hosting solution. Python’s documentation says its built-in http.server module is not recommended for production use; it is not a deployment alternative either. See the Python http.server documentation. For a public app, follow the current deployment and security guidance for your chosen framework and hosting provider. This guide intentionally does not prescribe a hosting service or production setup.
Common beginner mistakes to avoid
- Skipping the virtual environment: Install project packages in an isolated environment so dependencies are easier to manage.
- Starting with too many features: Make one complete interaction work before adding accounts, dashboards, and persistent data.
- Copying code without tracing the request: Be able to explain what the route receives, what the Python function does, and what the browser gets back.
- Mixing every responsibility together: Keep route logic, HTML templates, and styling understandable as the app grows.
- Treating a local server as a live website: Local development and production deployment have different requirements.
Frequently asked questions
Which Python framework should a beginner use?
Choose according to the app you want to build. Flask is a reasonable starting point for a small form-based example like this one. Django may suit a learner who wants to follow a more comprehensive project structure. Streamlit is worth considering for interactive data apps. Check the framework’s current documentation and Python-version support before setting up a project.
Do I need to know HTML and CSS to build a Python web app?
Some HTML is useful because it structures the pages a browser displays. CSS is helpful for styling, but you can begin with an unstyled form and add CSS after the application flow makes sense. Python handles server-side logic; it does not replace the browser’s page markup.
Can Python build the whole website?
Python can handle server-side application logic, routes, and data processing. A browser-facing site still uses web technologies such as HTML, and commonly CSS, to present pages. Some tools, including Streamlit, let Python developers create interactive web apps with less direct frontend work, but the right choice depends on the intended experience.
How do I publish the app online?
Choose a hosting approach and follow its current instructions together with your framework’s deployment guidance. Before making an app public, review configuration, secrets, user-input handling, and production-server setup. The local development command in this tutorial is for learning and checking the app on your machine, not for serving a production website.
Conclusion: make one working app, then build on it
To build a web application with Python, start with a small project, choose a framework that fits it, and follow one request all the way from browser to Python function and back. The notes form in this guide demonstrates that loop without adding unnecessary moving parts. Once it works, you can add styling, persistence, tests, and eventually a properly configured deployment as separate steps.
If you are choosing your next learning path, use a project-based Django resource for a structured site, a Flask API guide for backend practice, or a Streamlit guide for a data-centered app. The best next step is the one that matches the application you actually want to make.